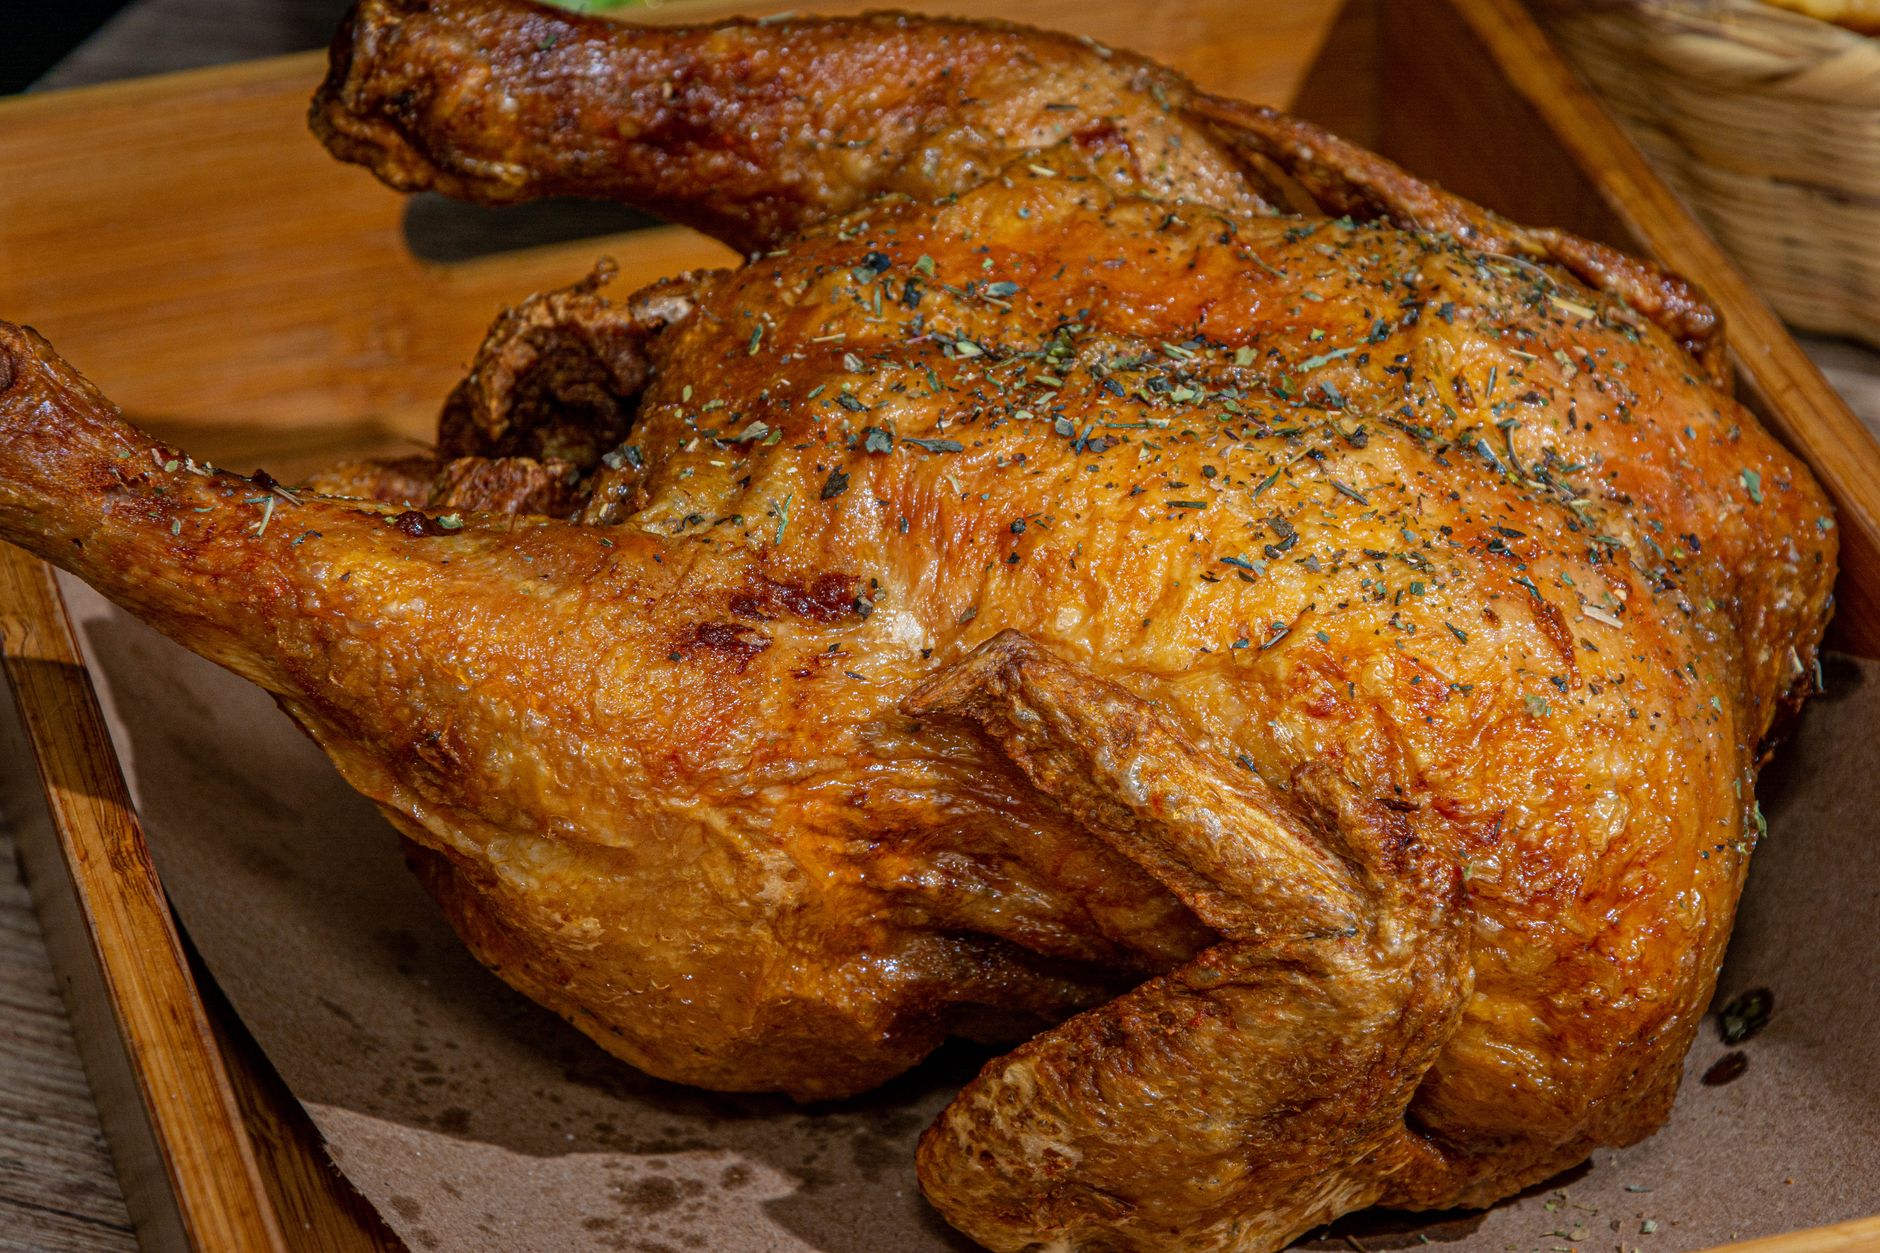
A whole chicken is one of the better arguments for owning an air fryer. The compact chamber circulates hot air on all sides of the bird at once, so skin that would take a slow oven ages to crisp up gets there in under an hour. But a whole chicken is also the item most likely to expose the limits of a basket-style machine: if the bird doesn't fit with room to spare, or if you don't check the right spot with a thermometer, you'll end up with an unevenly cooked dinner. Here's how to do it right.
Will a Whole Chicken Actually Fit?
Basket air fryers vary a lot in usable space, and manufacturers typically list total capacity in quarts without spelling out what size bird will clear the basket. As a rough guide, a 3 to 4 quart basket is usually too tight for anything but a small chicken (roughly 3 to 3.5 pounds), and even then the skin near the basket walls can end up pale where air can't circulate. A 5.5 to 6 quart single basket comfortably handles a 4 to 5 pound bird. Larger baskets in the 8 quart-plus range, or dual-zone models with one large drawer, can usually take a 5 to 6 pound chicken.
Before you buy your bird, measure the inside of your basket (width and height, not just the quart rating) and compare it to the chicken's widest point, which is usually across the thighs. You want at least an inch of clearance on all sides so hot air can move freely. If your basket is small, look for a chicken labeled under 4 pounds, or spatchcock it (see below) to flatten the profile.
Prepping the Bird
Pat the chicken completely dry with paper towels, inside and out. Moisture on the skin is the single biggest reason air-fried chicken skin turns out rubbery instead of crisp, since the air fryer has to burn off that surface water before browning can even start.
Decide whether to leave the bird whole and trussed, or spatchcock it (cutting out the backbone and pressing it flat). Spatchcocking has real advantages in a basket air fryer: it lowers the bird's height so it clears the heating element with more room, it cooks faster because there's no dense cavity for heat to fight its way into, and it exposes more skin surface to the hot air. If you keep the bird whole, tie the legs together loosely with kitchen twine so they don't splay open and burn at the tips.
Rub the skin with a thin layer of oil (avocado or a neutral oil with a high smoke point works better than butter, which can scorch and smoke at air fryer temperatures). Season generously with salt, pepper, and whatever dry rub or herbs you like, working some seasoning under the skin if you have time. Salting an hour or more ahead and leaving the chicken uncovered in the fridge (a rough version of a dry brine) will dry the skin out further and help crisping.
Step-by-Step: Roasting in the Basket
Preheat the air fryer to 360°F for about 5 minutes if your model has a preheat setting. Starting in a hot chamber helps the skin begin rendering and crisping right away instead of steaming in a cold one.
Place the chicken breast-side down on the crisper rack or basket insert for the first portion of cooking. This lets fat and juice from the breast baste the underside naturally and protects the leaner breast meat from drying out first. Cook at 360°F for about 25 to 30 minutes for a 4 to 5 pound bird, then carefully flip it breast-side up using two sets of tongs or heatproof mitts (it will be hot and the basket is shallow, so go slowly). Continue cooking at 360°F, checking every 10 minutes, until a thermometer confirms it's done.
Total cook time for a whole chicken usually falls somewhere between 50 and 75 minutes depending on weight, basket airflow, and starting temperature of the bird. Don't rely on time alone as your signal to stop.
Checking for Safe Doneness
Poultry is safe to eat once it reaches an internal temperature of 165°F anywhere in the thickest part of the meat. Insert an instant-read thermometer into the thickest part of the breast and separately into the thickest part of the thigh, avoiding bone, since bone conducts heat differently and will give you a false high reading. Both spots need to hit 165°F. If the thigh is still short of that number while the breast is already there, you can tent the breast loosely with foil and continue cooking just a few more minutes to bring the thigh up without overcooking the breast further.
Let the chicken rest for 10 minutes before carving. This isn't a food-safety step so much as a texture one: resting lets the juices redistribute through the meat instead of running out onto the cutting board the moment you cut in.
Getting Crispy Skin Without Burning
The biggest tension in air frying a whole chicken is that skin crisps fastest at higher temperatures, but a whole bird needs longer, gentler cooking to reach a safe temperature all the way through without drying out the breast. A two-stage approach usually works better than one flat temperature: cook most of the way through at 360°F, then in the final 5 to 8 minutes, bump the temperature up to 400°F to finish crisping the skin once the interior is close to done.
Watch for smoke. Rendered chicken fat dripping onto a hot element or into a shallow drawer is a common cause of smoke in air fryers when cooking a whole bird. If you notice smoke building, pause the machine, let it cool slightly, and check whether fat has pooled in the bottom drawer; wiping it out mid-cook is fine and won't hurt the chicken.
Troubleshooting Common Problems
If the skin is soft or pale after cooking, the most common cause is skipping the pat-dry step or using too little oil, though a basket that's overcrowded (touching the sides) will also block airflow and leave patches undercooked and pale. If the breast is dry but the thighs are still underdone, the bird likely needed a lower first-stage temperature or a shorter total time; a smaller or spatchcocked bird cooks more evenly. If the chicken won't fit no matter how you position it, spatchcocking or switching to bone-in parts (thighs, breasts, drumsticks cooked separately) is a more reliable path in a small basket than forcing a whole bird in.
FAQ
Can I air fry a whole chicken straight from frozen? No. Air fryers cook the outside faster than the inside can catch up, and a frozen bird will brown or even burn on the surface long before the center reaches a safe 165°F. Thaw the chicken fully in the refrigerator first.
Do I need to flip the chicken during cooking? Flipping isn't strictly required on every model, but starting breast-side down and flipping partway through generally produces more even browning and a juicier breast, since the fattier back and thighs baste the breast from below early on.
Why is my chicken done on the outside but pink near the bone? Pink near the bone can be a pigment reaction rather than undercooking, especially in younger birds, but you should never rely on color alone. Trust the thermometer: if the thickest part of the thigh reads 165°F away from the bone, the meat is safe even if it looks slightly pink.
What size chicken works best for most basket air fryers? A 4 to 5 pound bird is the safest bet for typical single-basket models in the 5.5 to 6 quart range. Larger birds are better suited to bigger baskets or should be spatchcocked to fit and cook evenly.
Should I stuff the cavity before air frying? It's better not to. Stuffing inside the cavity blocks hot air from reaching the interior, slows cooking, and makes it harder for both the stuffing and the meat around it to reach a safe temperature at the same time. Cook stuffing separately.