Method
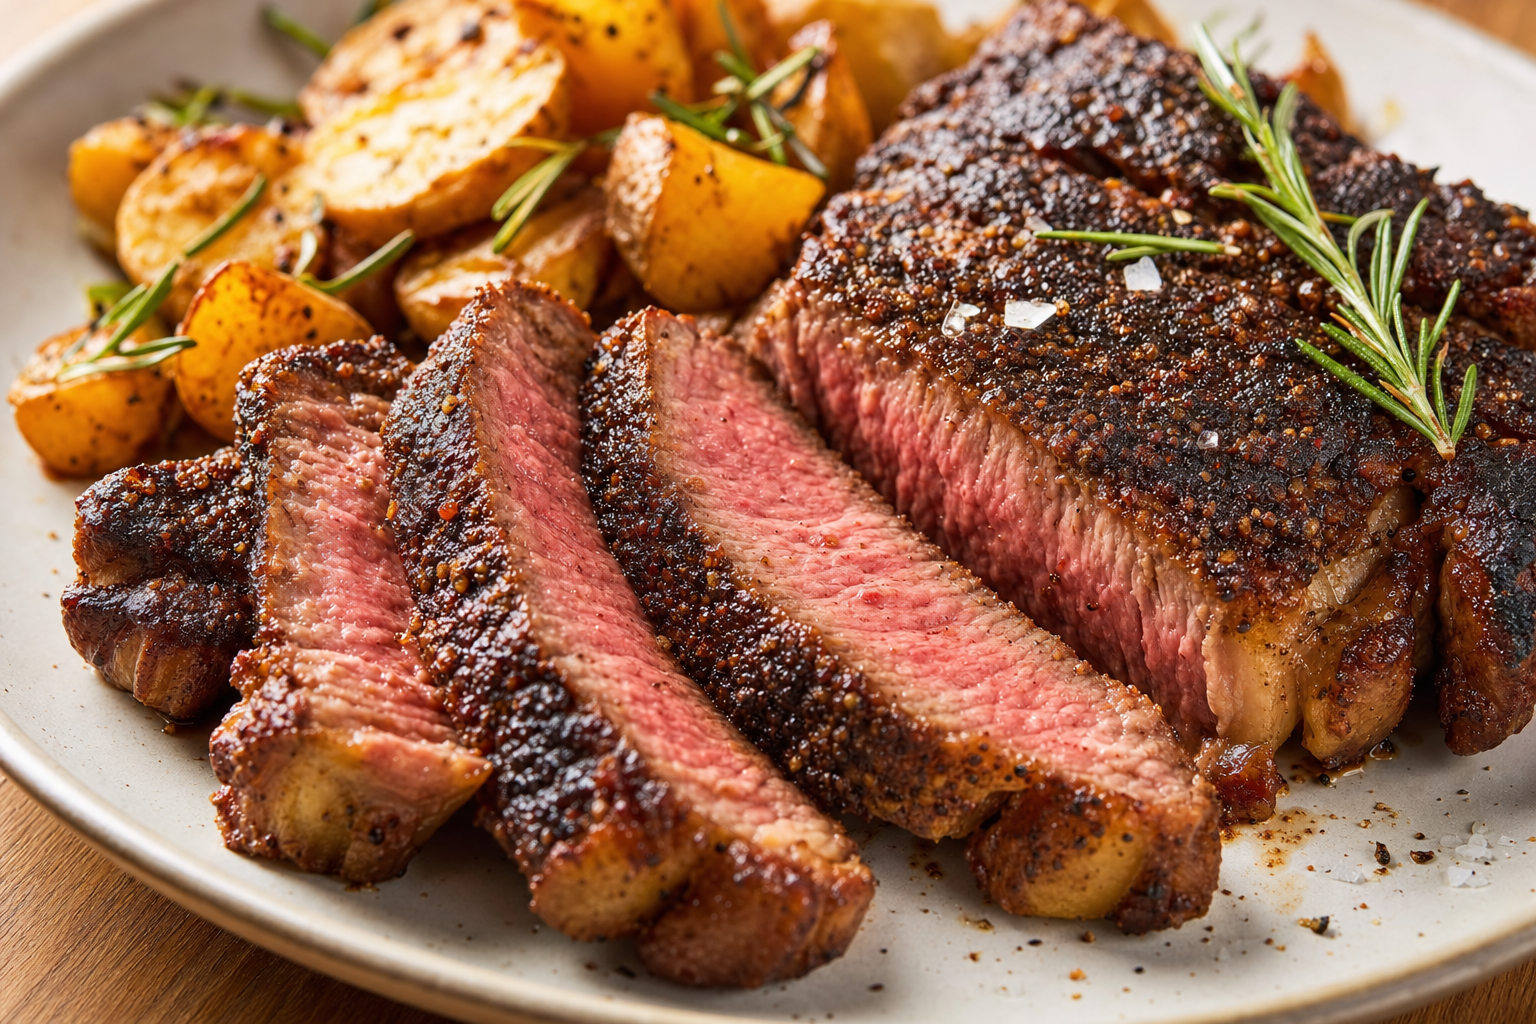
Take the steaks out of the fridge about 20 minutes before cooking so they aren't ice cold going in. Pat them completely dry with paper towels; a dry surface is what actually browns, and any surface moisture will just steam instead of sear. Rub each steak with the olive oil, then season all over with the salt and pepper, pressing it in slightly.
Stage one, air fryer: 250°F, about 12 minutes. Preheat the air fryer to 250°F. Set the steaks in a single layer in the basket, not touching, and cook until an instant-read thermometer inserted into the thickest part reads about 115 to 120 degrees. This low, slow stage cooks the steak through gently before the crust goes on, which is the whole point of reverse searing. Pull the steaks out and let them rest on a plate, loosely tented with foil, for 5 minutes.
Stage two, air fryer: 400°F, 6 to 8 minutes. Crank the air fryer up to 400°F and let it preheat for a couple of minutes. Return the steaks to the basket and cook, flipping halfway through, until deeply browned on both sides. Check the internal temperature with a food thermometer in the thickest part; for whole beef steaks, the USDA safe minimum is 145°F. Pull the steaks as soon as they hit that number, since they'll continue to climb a few degrees as they rest.
Set the steaks on a clean plate, top each with a tablespoon of butter and a smashed garlic clove and thyme sprig if using, and let them rest a full 3 minutes before slicing. That rest matters for both food safety and juiciness; cutting in early lets all the juice run out onto the board instead of staying in the meat.
Slice against the grain and serve.
Tips
- Don't skip drying the steak before seasoning. Any surface moisture blocks browning and you'll end up with a gray, steamed exterior instead of a crust.
- Buy steaks close to the same thickness so both stages finish at the same time; a steak much thinner than 1 inch will overcook in stage one.
- Air fryer baskets vary quite a bit between models, so treat the times here as a starting point and rely on the thermometer, not the clock, to know when to pull the steaks.
- Don't crowd the basket. Two steaks with space around them get even air circulation; steaks touching will steam against each other and brown unevenly.
FAQ
Can I get my steak more pink in the middle than 145 degrees? The USDA safe minimum for whole beef cuts like steak is 145°F with a 3-minute rest, and that's the number to cook to. This reverse-sear method still delivers a well-browned crust and a juicy, tender result at that temperature; a thermometer is the only reliable way to know you've hit it.
Why cook the steak in two stages instead of just blasting it at high heat the whole time? Starting low lets the inside come up to temperature gradually and evenly, so you don't get an overcooked band just under the crust. The high-heat finish at the end is what actually builds the browned exterior.
Do I need to flip the steak during the low-temperature stage? No, that stage is just about bringing the internal temperature up gently; flipping isn't necessary until the hot searing stage, when you flip once halfway through to brown both sides.
What cut works best for this method? Ribeye is a good choice because of its fat marbling, but a strip steak or a thick-cut sirloin will work the same way. Aim for steaks around 1 inch thick so the two stages line up with the times given.
Can I make this without butter at the end? Yes, the butter and garlic are a finishing touch for flavor, not a cooking requirement. The steak is fully cooked and safe to eat without them.
Comments (0)
No comments yet.